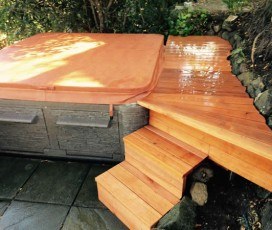
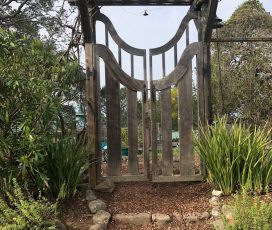
The art of being a home doctor is always - Round, Straight, Plumb, Square,Level, Equal, Sized, Parallel, Pilot Hole, Shimmed,Braced,Caulked, Glued and screwed.
What does this mean? What is this guy talking about? If you can remember these basic rules and NEVER break them, you will save yourself hours of aggravation.
- When cutting a hole or drawing a circle, keep a clean round line and cut it round. Take your time to do it right, then whatever you are building will fit nicely.
- Keep your lines straight; make sure your straight edge is true. A well-cut straight line looks and trims best.
- Plumb all work with an accurate level. Brace your work after plumbing all verticals until they are fixed.
- Square all projects with a hand or framing square. Secure only after all materials are squared.
- Get a good quality level and check all surfaces. Make sure they are level and flat.
- When spacing, keep work equal with a template block. Cut a block of wood and use it as a quick guide for multiple recurring part placements as you fabricate.
- Size all your materials to fit what the project requires. Everything gets sized from pilot drills to lumber dimensions. If necessary, look up your sizing.
- Keep work even or parallel; it looks better.
- Pilot holes make for clean work and allow for easy and clean screw placement.
- Shims are your best friend. When a project is uneven, shim it straight.
- Brace all work so that it stays in place as you work on it.
- Caulk all projects where waterproofing is necessary. It is best to use adhesive caulk as it waterproofs and glues.
- Glue and screw all projects with clear adhesive caulk and screws that are sized for your work. I almost never use nails anymore. Screws are stronger and allow mistakes to be unscrewed and corrected.
- Own these tools at minimum:
- Pencils
- Water level (long clear plastic tube for leveling buildings and big projects)
- String Line
- Chalk line
- Tape measure
- Hand square
- Framing square
- Hammer
- Jig saw
- Saws - all
- Screw gun
- Tool belt
- Sheet rock mud tray (to be used with 20 to 90 minute hot mud, mixed in tray)
- Mud knives of different widths
- Chisels
Follow these basic rules and own these basic tools, and your home improvement projects will be fun and efficient. When in doubt on how to perform a task and what tools to use, look it up on YouTube. This is a very useful online resource. Sometimes I get myself into projects that are new to me so I go to YouTube and look up a video made by professionals who are experienced in the task at hand. Also I am always here for your questions, so just e-mail me at MarinHomeRestoration.com. I am an experienced landscaping and plumbing contractor in Mill Valley, CA.
Happy remodeling!
Dave Mason

